Add or Change Image per Item
On this page, you can read all about adding and/or changing images per item.
Add or change images
Select the item in your offer for which you want to change the image
In your seller account, click 'Items' at the top, then choose 'My items'. Select the item for which you want to add and/or change images. Then click 'Edit content' or 'View item' on the right side.
Add images
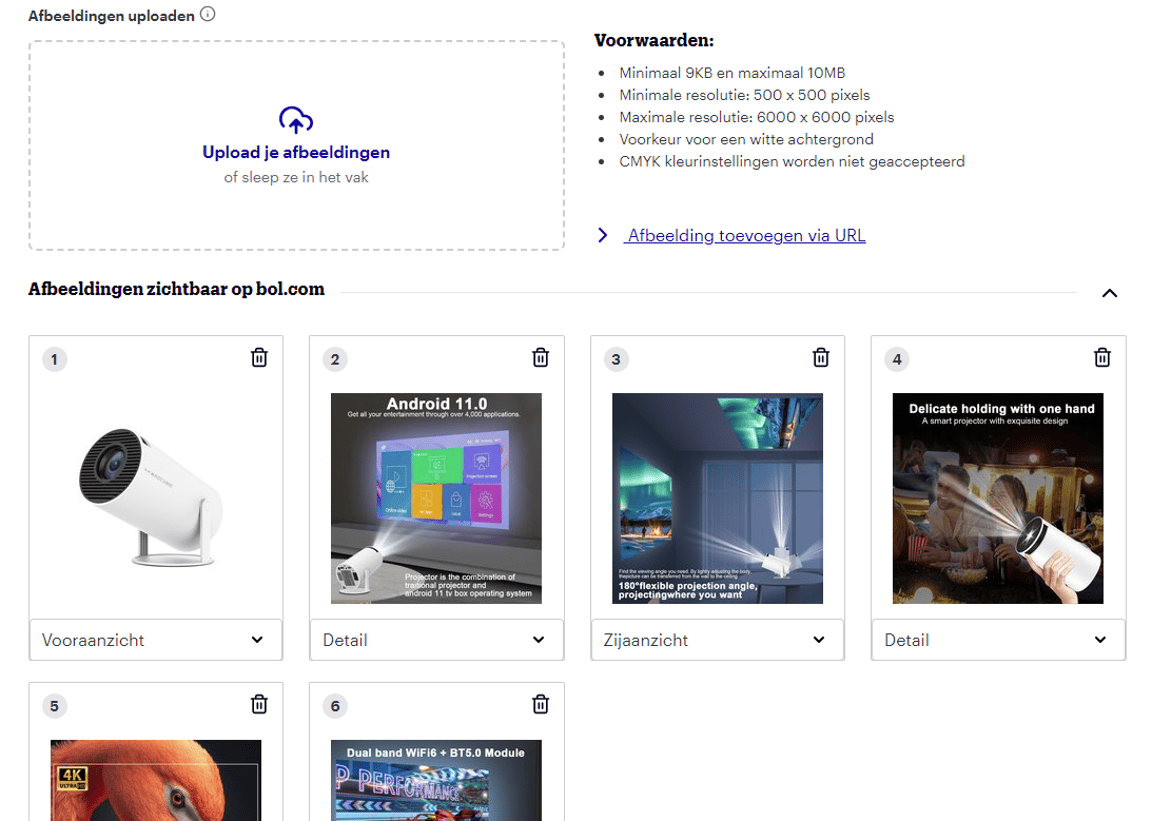
Does the item not have any images yet? You can add them under 'Upload images'.
It is also possible to automatically add images to your offer via the API. Most integrators listed here can arrange this for you automatically. If you are building your own connection, you can read everything about how to send content, including images, via the API on the following page.
2.1 Add images from your own file/folder:
Click 'Upload your images' and choose the images from your own files.
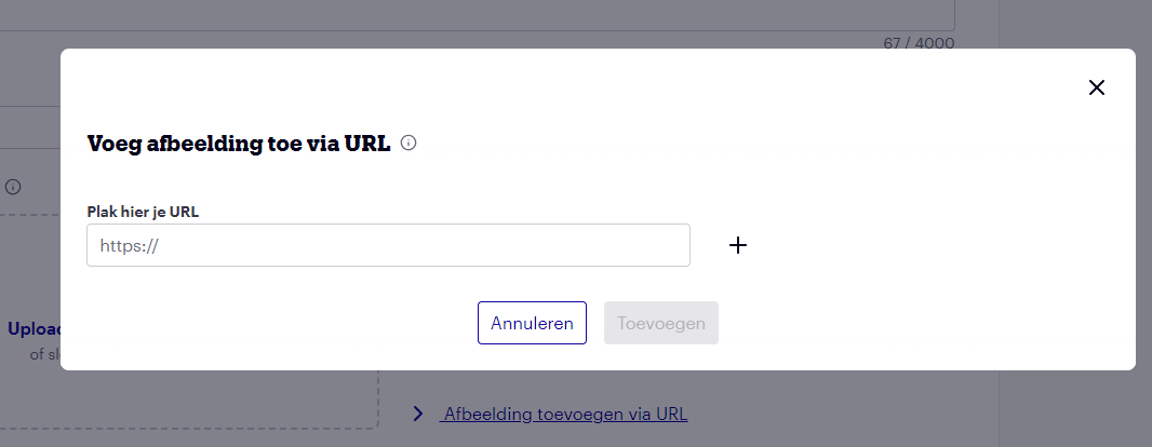
2.2 Add image URLs:
Do you have URLs for your item images? Then choose 'Add image via URL':
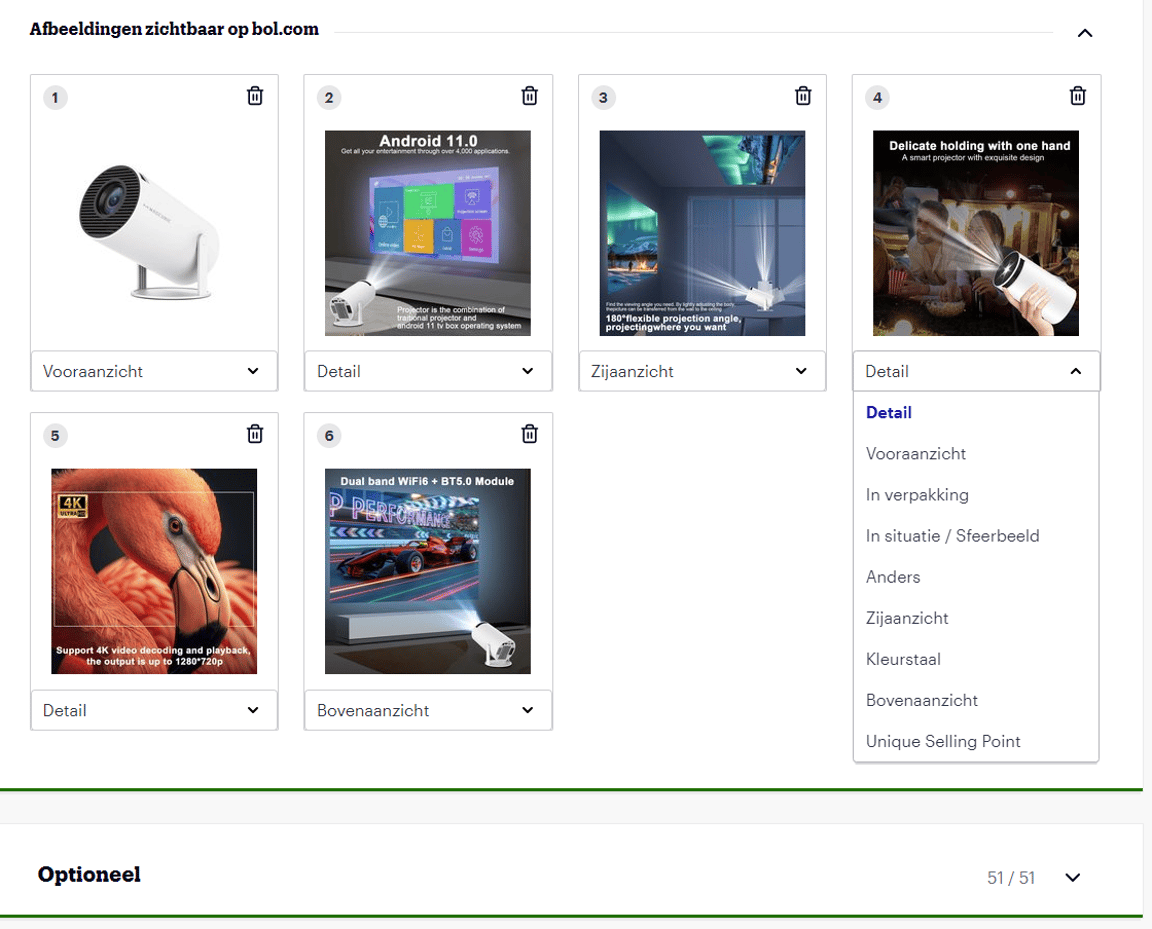
Select the image view
Then, fill in the most suitable view for each image. This way, the system automatically places the images in the correct order. This order is determined based on quality and customer data. Do you have multiple images with the same view? That's fine. You can choose the same view multiple times. All unique images will be placed online. Click 'Save changes' to add the images.
Change images or take them offline
If you want to change a view because it's incorrect, you can select and save a new view at any time. If an image is completely wrong, or you've added the same view with better quality, you can take the poor image offline by clicking the trash can icon. Click 'Save changes'.
Your offline images
Have you taken images offline? You'll find the images you've taken offline under the heading 'Your offline images'. If another partner has taken one of your images offline, you'll also find it here. You can permanently delete these images by clicking the trash can icon. You can also put an image back online by clicking the round arrow:
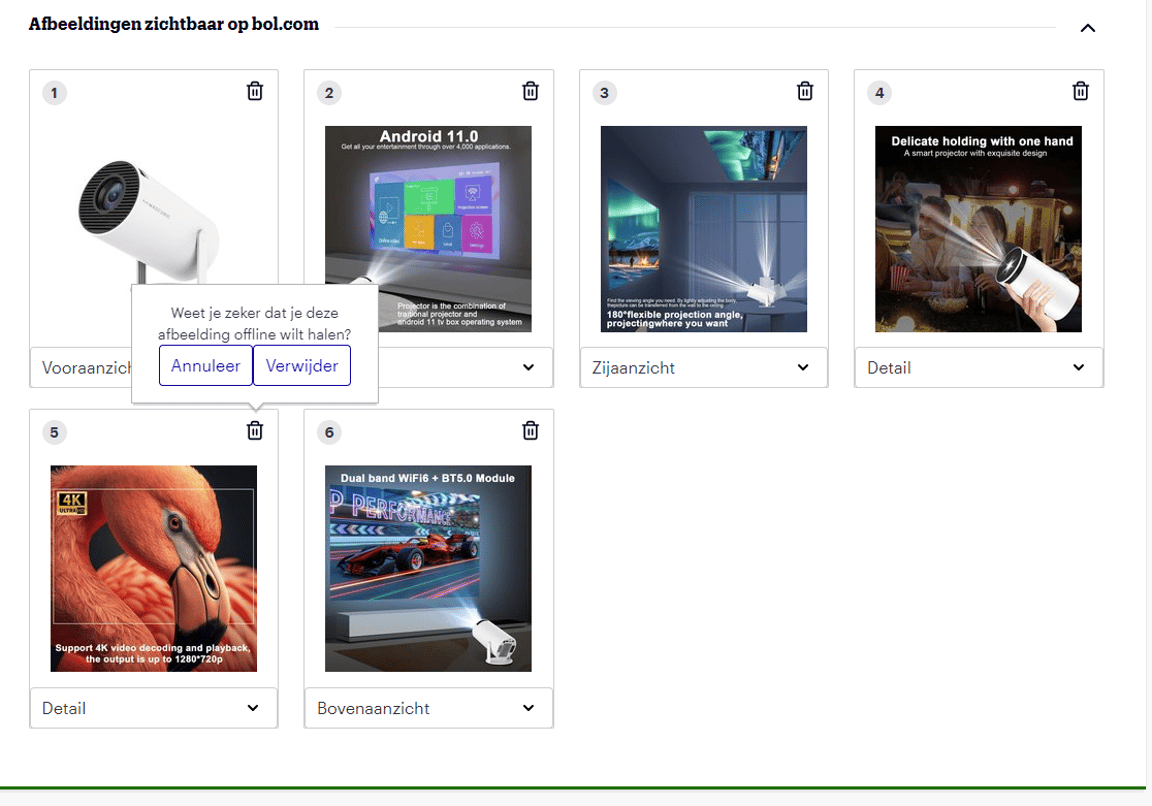
Image guidelines
Images greatly help customers get a good idea of the item. Therefore, add as many images as possible showing the item from different perspectives. Furthermore, to remain visible on bol and Google, it is important that images comply with the guidelines. More information about image guidelines can be found here.
And now... just a moment!
Additions or changes will be processed within 8 hours and will then be visible via bol.